
Introduction to FORM Attributes in HTML
HTML FORM Attributes are powerful tools for user interaction on the web, and understanding the attributes associated with the <form> element enhances their functionality. Let’s explore key attributes, their roles, and examples of implementation.
1. The action Attribute
The action attribute determines the action to be performed when the form is submitted. Typically, a server-side script processes form data. If you omit the action, the current page processes the form data.
Example:
<form action="/process_data.php">
  <!-- Input fields and other form elements go here -->
  <input type="text" name="username" placeholder="Enter your username">
  <input type="password" name="password" placeholder="Enter your password">
  <button type="submit">Submit</button>
</form>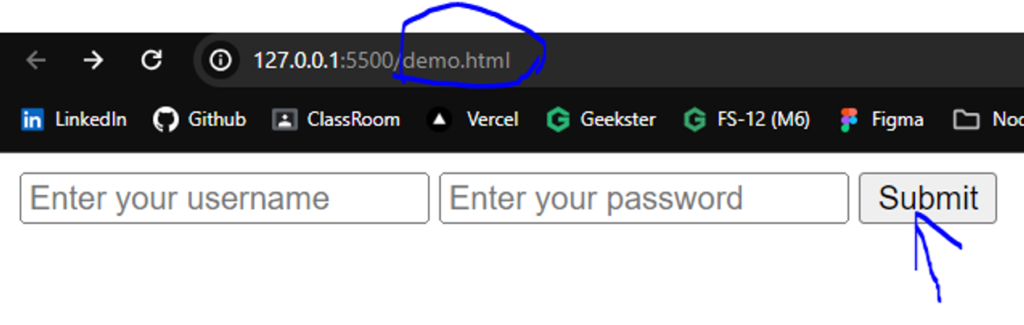

2. The target Attribute
The target attribute specifies where to display the response received after form submission. It can take values like _blank (new window or tab), _self (current window), _parent (parent frame), _top (full window body), or a specific framename.
Example:
<form action="/submit_data.php" target="_blank">
  <!-- Input fields and other form elements go here -->
  <input type="email" name="email" placeholder="Enter your email">
  <input type="submit" value="Submit">
</form>3. The method Attribute
The method attribute specifies the HTTP method for submitting form data. It can be get or post.
get: Appends form data to the URL (visible in the URL, suitable for non-sensitive data).post: Sends form data inside the body of the HTTP request (not visible in the URL, suitable for sensitive data).
Example:
<!-- Using GET method -->
<form action="/search" method="get">
  <!-- Input fields and other form elements go here -->
  <input type="text" name="query" placeholder="Search...">
  <input type="submit" value="Search">
</form>

<!-- Using POST method -->
<form action="/login" method="post">
  <!-- Input fields and other form elements go here -->
  <input type="text" name="username" placeholder="Username">
  <input type="password" name="password" placeholder="Password">
  <input type="submit" value="Login">
</form>4. The autocomplete Attribute
The autocomplete attribute controls whether a form should have autocomplete on or off. When on, the browser automatically completes values based on previous user input.
Example:
<form action="/preferences" method="post" autocomplete="on">
  <!-- Input fields and other form elements go here -->
  <input type="text" name="address" placeholder="Enter your address">
  <input type="submit" value="Save Preferences">
</form>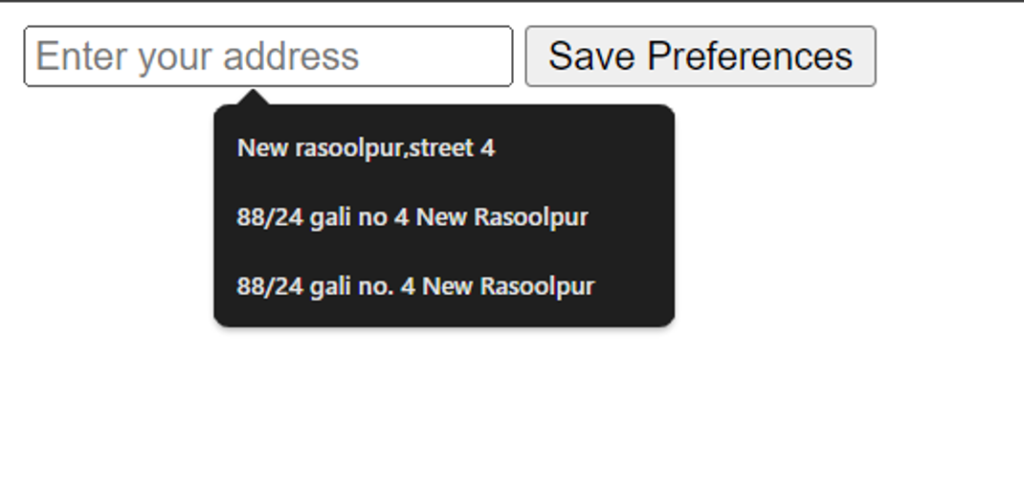
5. The novalidate Attribute
The novalidate attribute specifies that the browser should not validate form data upon submission. Use this attribute when you do not want client-side validation.
Example:
<form action="/submit_data.php" method="post" novalidate>
  <!-- Input fields and other form elements go here -->
  <input type="text" name="comment" placeholder="Enter your comment">
  <input type="submit" value="Submit Comment">
</form>Conclusion
Understanding it is crucial for effective web development. These attributes enable developers to control form behavior, data submission, and enhance user experiences.
Frequently Asked Question
action attribute do in HTML forms? The action attribute specifies the file or URL where form data is sent for processing upon submission.
autocomplete attribute impact form behavior? The autocomplete attribute controls whether the browser should automatically fill in form values based on the user’s previous input.
novalidate attribute be used? The novalidate attribute is used when form data should not be validated, especially when client-side validation is not desired.